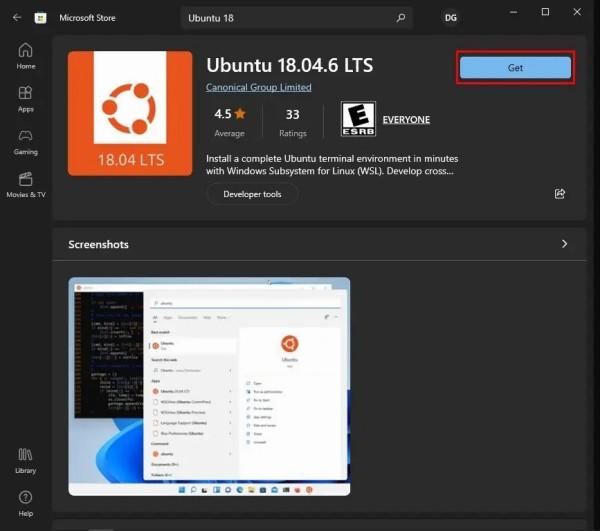
WSL (stands for “Windows Subsystem for Linux“) is a feature of Microsoft Windows that allows the user to run Linux distribution alongside Windows by utilizing a compatibility layer. It was released in 2016, however, the current version is WSL 2, which supports numerous Linux distributions including Ubuntu, Debian, OpenSUSE, Manjaro Linux, Arch Linux, Fedora and others.
WSL is a beneficial feature for developers as it eliminates the need for extra hardware, virtualization, or dual-boot setups to manage Linux file systems or to access Linux command-line and tools.
With WSL, one can seamlessly switch between Windows and Linux workflows, enabling them to take advantage of Linux-specific tools while still enjoying the features of Windows as their primary operating system.
Something that is interesting (and I have not tried out myself, but I understand it can work) is that GUI Linux apps for X11 can also be run this way (those not requiring special drivers). Supposedly the way to do this is:
- Open a terminal window in your Linux distribution and run the following command: export DISPLAY=localhost:0
- Launch the GUI Linux application from the command line that you want to run.
WSL is not only great for accessing native Linux apps, it is also useful for devs wanting to test their apps out for Linux, and it is also a great way for Windows users to dip their toes into learning about Linux. I did a post about a week back about Distrobox which is a similar sort of WSL but on Linux for Linux.

