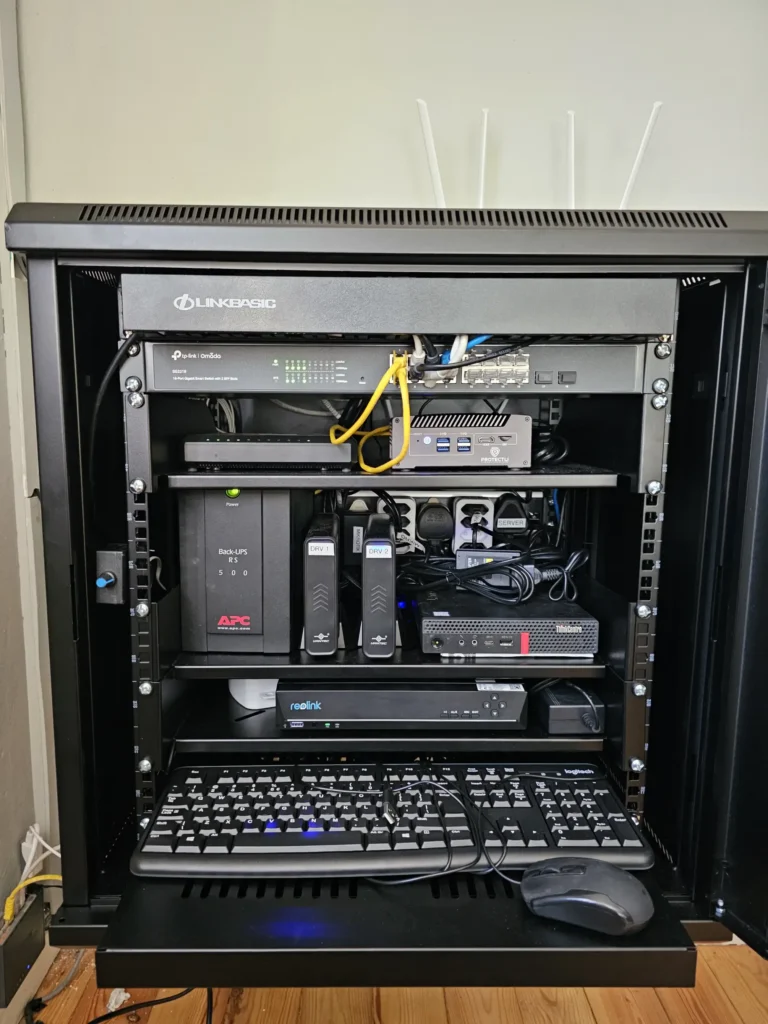
In hindsight, I can say now this was really worth it. Apart from the rat’s nest of cables I had, the original stand I was using did wobble a bit if bumped, and that was worrying me if it could damage the server’s storage drives (which are spinning hard drives). And apart from those technical worried, it was also difficult to actually clean around that stand. Of course, my wife was more worried about the latter part, and also what would a network cabinet “look” like on the wall.
These are two photos showing what the original setup started to look like:


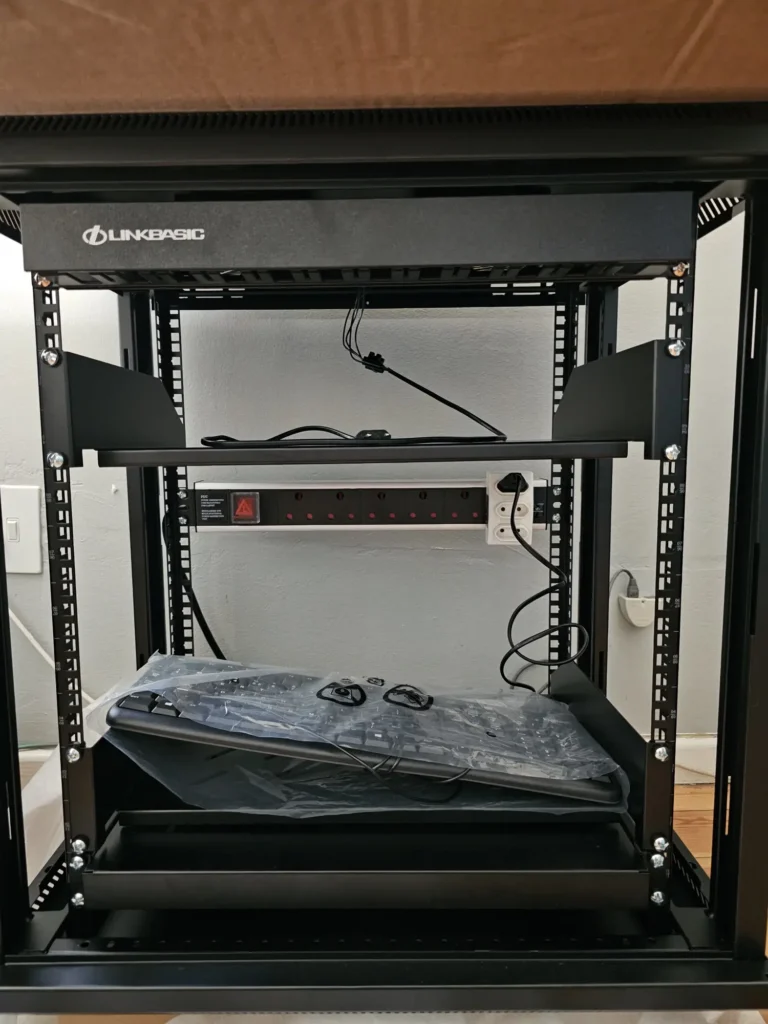
Assembling these cabinets is not that easy if this is your first time. I did eventually figure out the main parts, but I struggled with the two inner uprights that hold the trays. I was trying to set their depth according to the small trays pieces that came with the cabinet. Then I realised the sliding tray at the bottom, was way deeper. So I had probably had to remove these uprights about three times until I found the sweet spot based on the depth of that sliding tray.

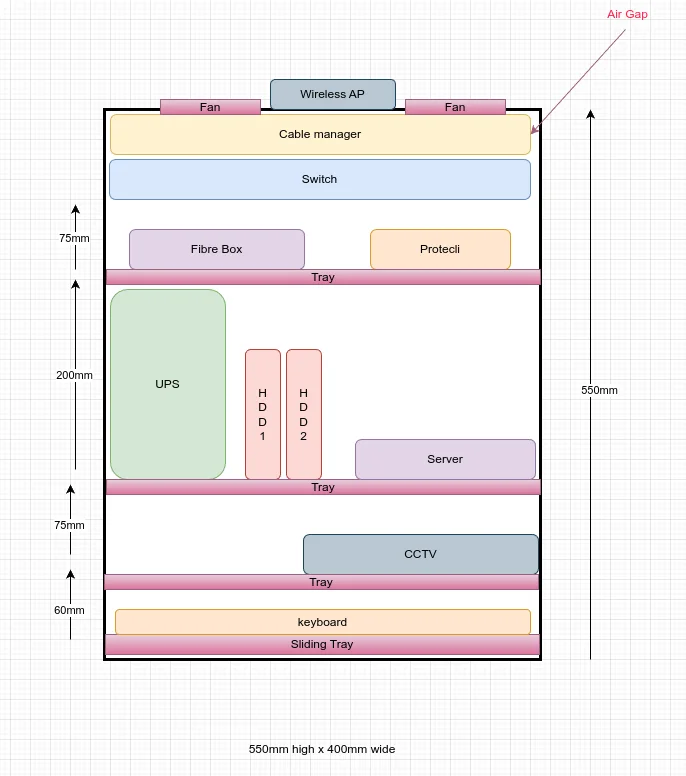
I did also work out a diagram to scale to help position everything, and I used drawio for this. It helped me move the devices around and see what could fit. It also inspired me to try to fit an extra tray in.
Little things I did realise were:
* The fans needed some headroom (or is that tail room?) so I should not fit the main switch right at the top as that would have been flush with the bottom of the fans. So I switched the cable management try around with the switch at the top and that created a nice air gap.
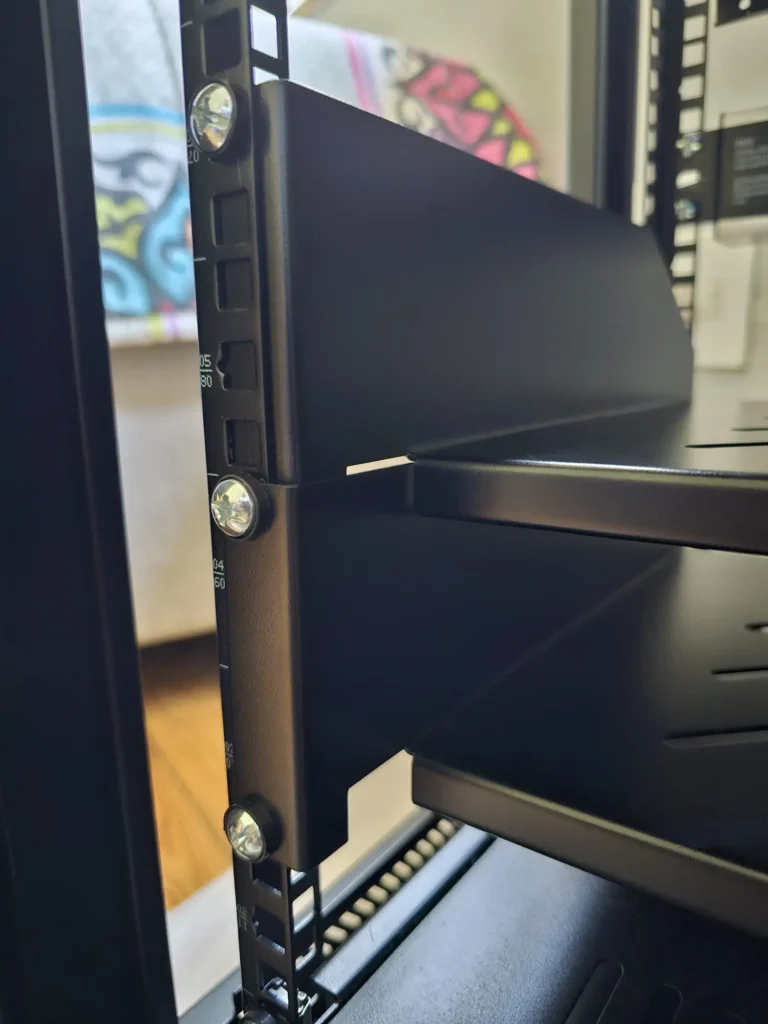
* The front mounted trays do have a bit of a spacing issue if you want to install small devices. So, I found a way to overlap the top of one tray with the bottom of another tray. It is not the correct way to do it, but it works. I needed the extra 1 cm height for the UPS to fit in.
Something else I went for was 2-prong extension leads (unfortunately 1,8 m long). The reason was I have a few devices with those large power converters on (220V to 12V or 5V etc) but they can only fit directly onto a full size 3-prong plug-size socket space and that chews up space. So these extended cables move that power adaptor away from the plugs and I can fit up to four 2-prong plugs on a single power plug socket. But I somehow lost one of them and had to go buy more (I found it later, where it had slipped down under the sliding tray). But these extender cables are really saving me a lot of socket space. The power draw is low enough not to worry about having a few connected together.
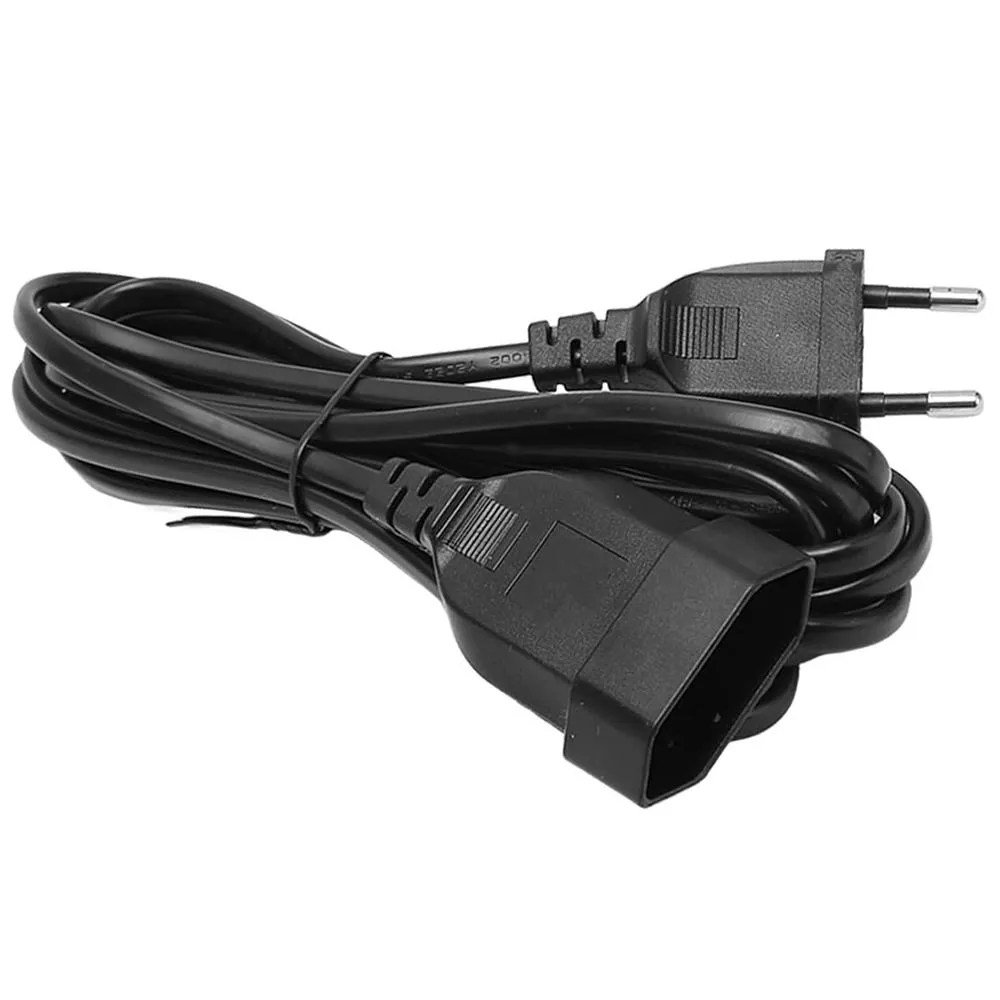
So, it all eventually came together, and I got it mounted on the wall, and amazingly it all powered up OK the first time. Only my CCTV NVR was booting into the IoT network VLAN instead of its own VLAN. It took me a while to realise this was because I plugged its network cable at the rear, into a camera port, instead of the Ethernet socket.
But all was not to be good. The moment my wife heard what sounded like a jet fighter constantly taking off, she was not happy with the noise. The fans were 220V AC fans and could only run flat out. In a data centre this probably does not matter much, but in a room it is pretty loud. It seemed only DC fans would easily adjust their speed, so I went down to the local electronics shop, and they sold me a really cheap DC voltage speed controller for under US$2, a small box to house it in, and two cheap 12V DC fans for R100 (US$5) each. These are by far still not the quietest fans around, and they probably won’t last very long, but I can replace them in time.
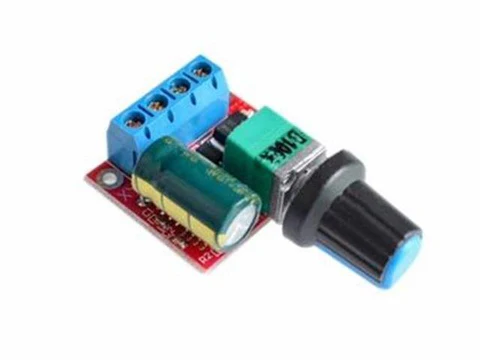
These fans are now about 10dB quieter than the AC ones, and I can also adjust them down to a speed that still works, and is quieter too. Here are videos of the AC fans (first video) and then the DC fans being adjusted (second video). The videos are actually physically stored and served from this network cabinet, so be patient if it takes a few seconds to load.
Or try opening https://photoshare.gadgeteerza.co.za/share/5tDubXseni7oaZtKH-ud-dHeRW-pN9WZ4KUlsSlYQE9Zu-QqIDpw-ETiD6d17R1wB5Y
Or try opening https://photoshare.gadgeteerza.co.za/share/lvyj2CAd76KFfwUvHd9ct4p9oxtG3Z9HdjeiwgARq61SUXteg_U2tPp-n2lxpHRJ7DY
So that is it, and it is all working well now. The temperatures for the drives and firewall all look OK. The featured image for this blog post shows the final layout. I suppose I can still cut and trim those extender cables, and it is a real pity we still get so many devices with those big block power adaptors mounted directly on the power plugs.